We’re in strange times right now and as a way to help people a good friend and colleague created the Alone Together Jam to give folks a creative outlet. The jam would run for the entire month of April to let folks work at a relaxed pace. As a prompt the jam provided three words: Horizon, Twain and Ambedo. Fortunately they also included links to the words … ambedo was both a completely new one for me and also the cornerstone of my idea.
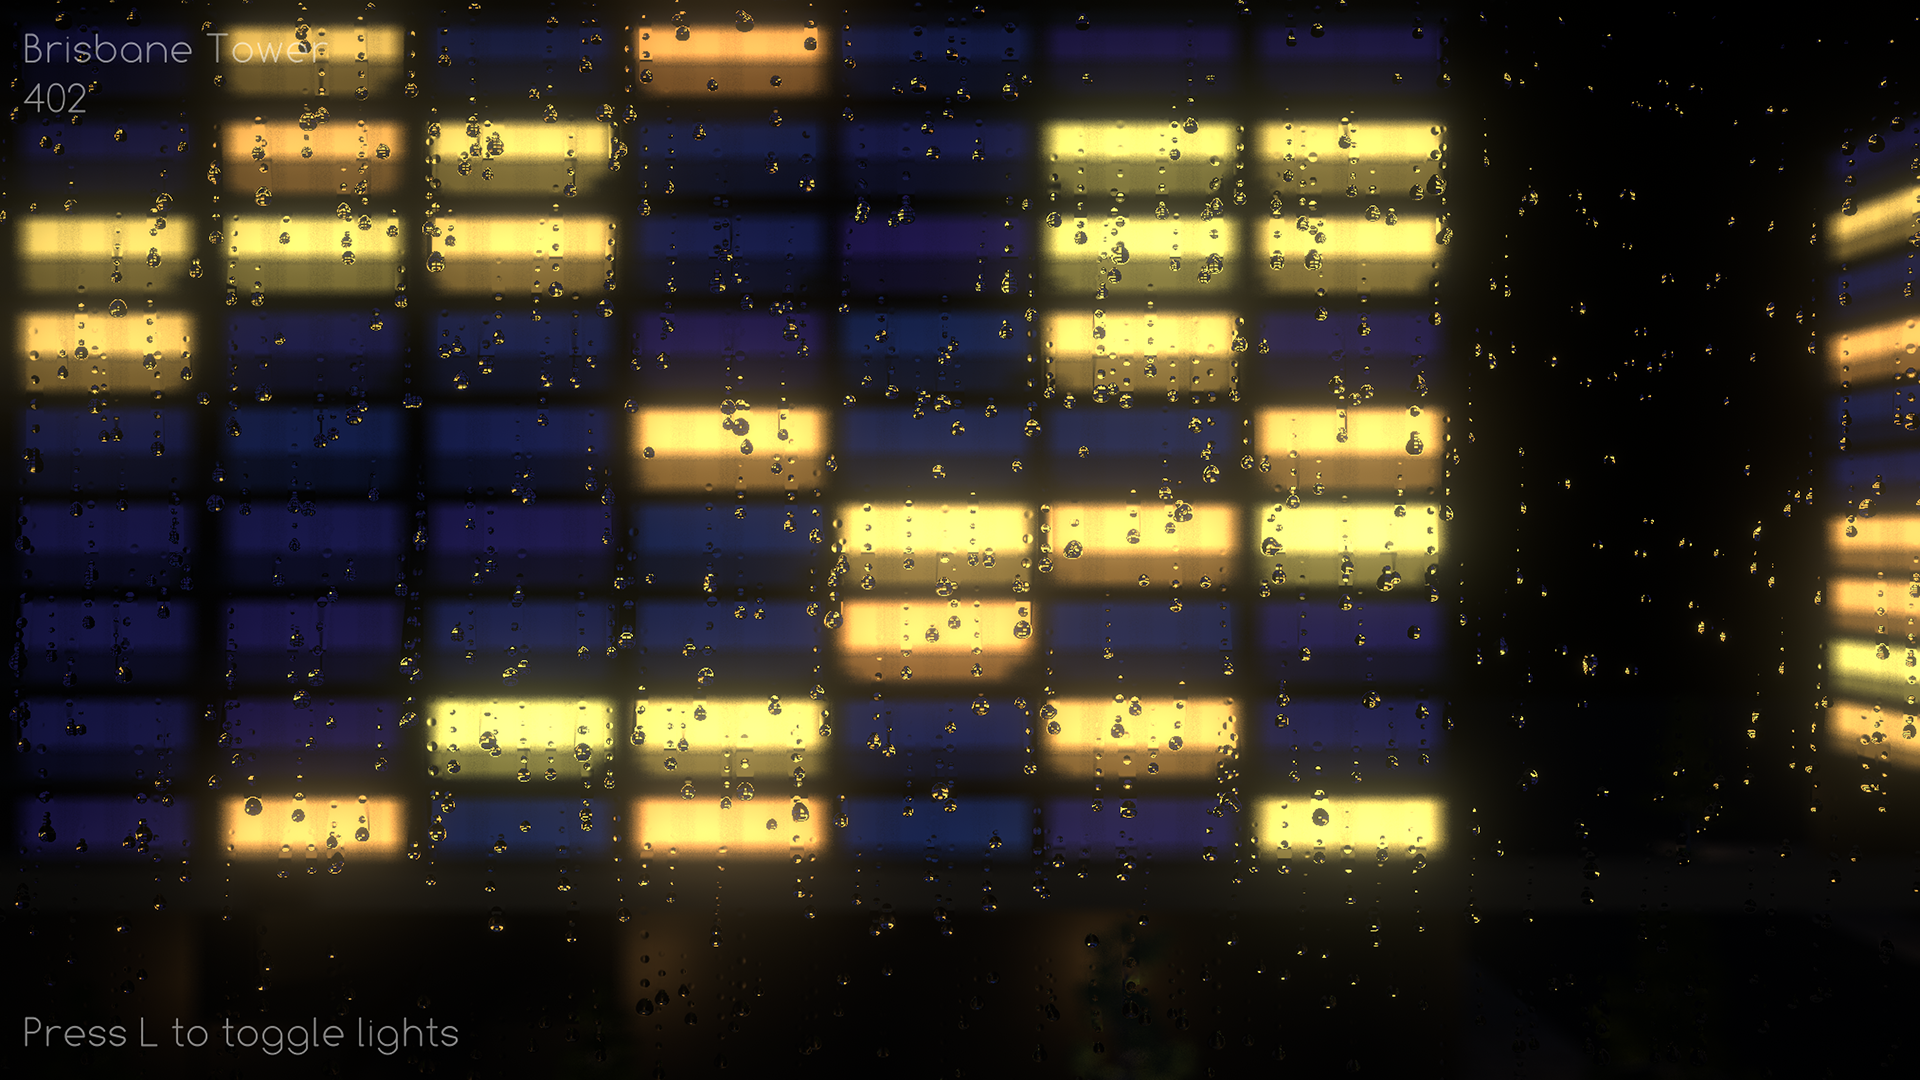
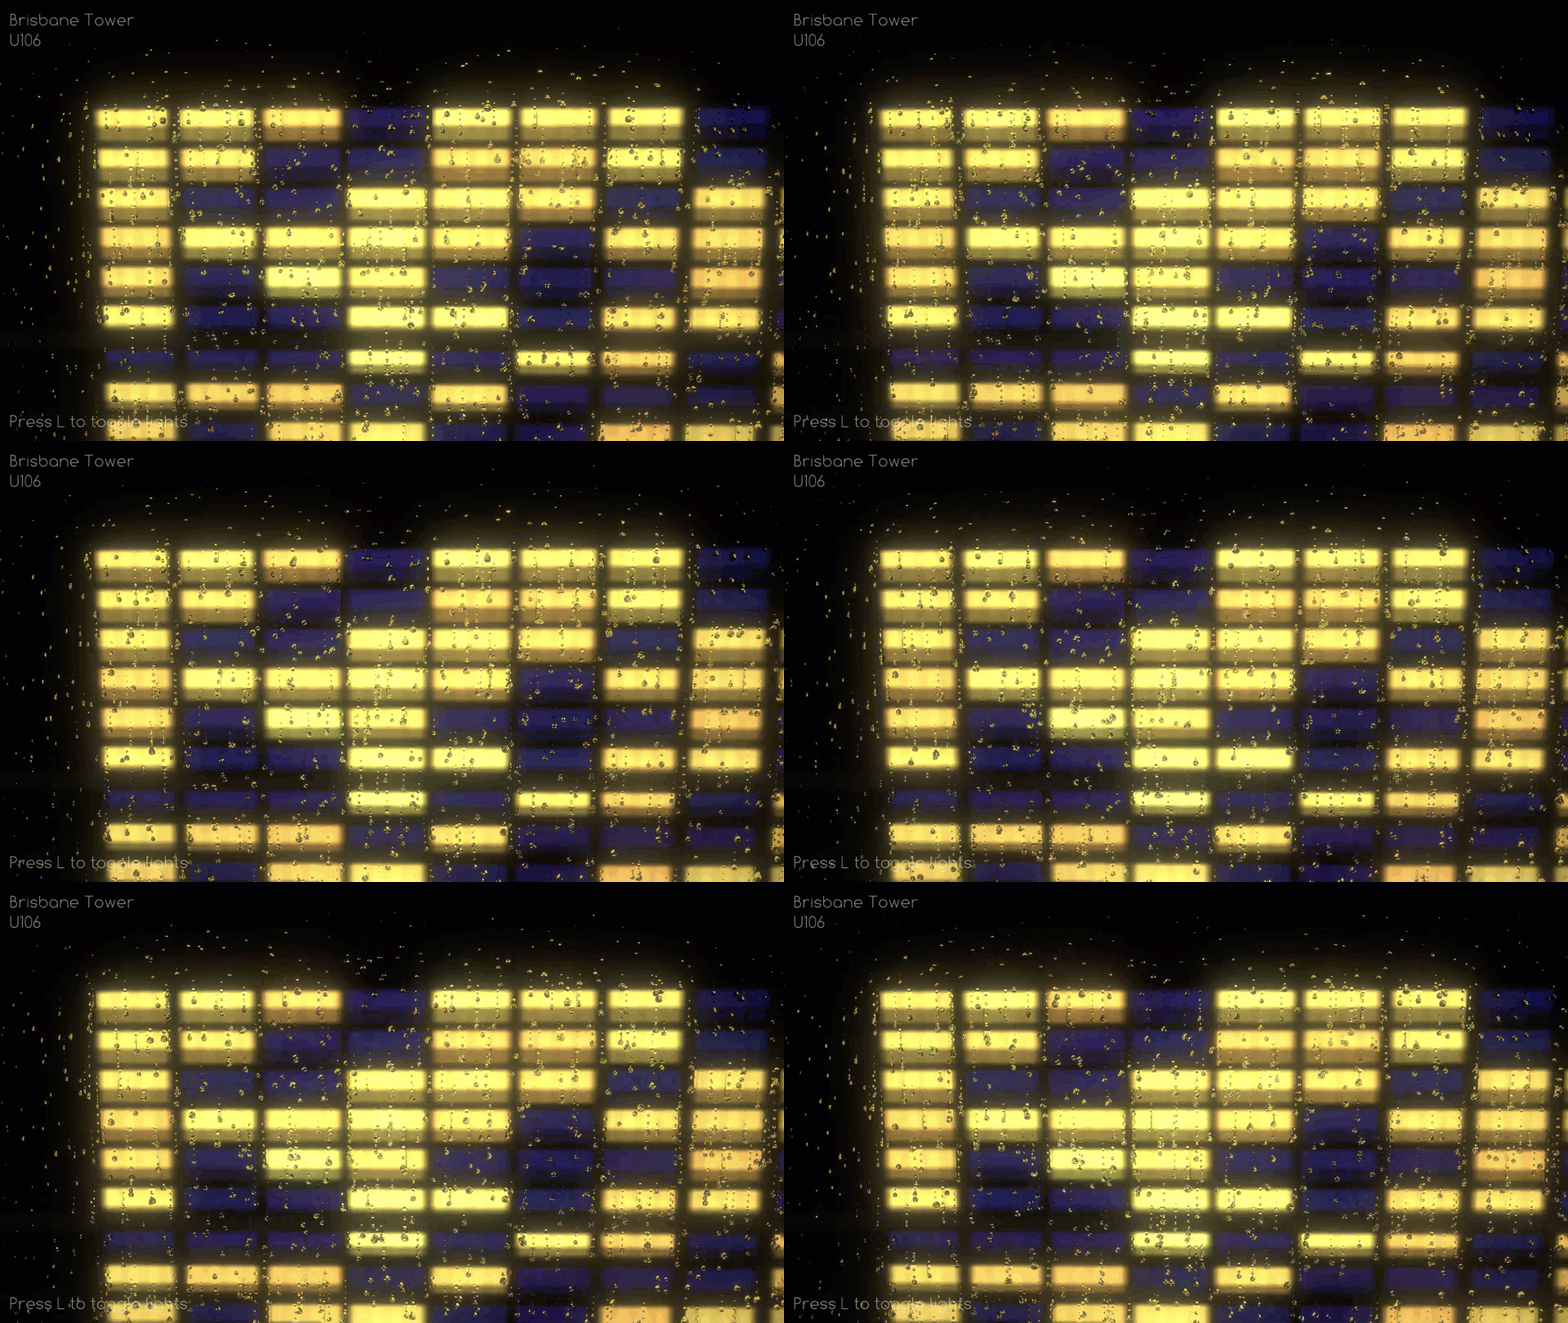
So what did I make and what am I going to talk about? I made an MMO … an MMO Screensaver. The game, Through my window, doesn’t have any tasks for the player to complete; there isn’t anywhere for them to go or to be; there’s just a street on a rainy night and a window to watch it through. And as for what I’ll be talking about? I’m going to talk through how I came up with the idea and how I designed and built the key systems.

Developing an idea
Thinking of ideas is never the hard part. The hard part is picking one idea and developing it into an interesting concept that is achievable within the time constraints. The prompt words helped a lot with idea generation particularly ‘ambedo’ and in particular this part of the definition “A kind of melancholic trance in which you become completely absorbed in vivid sensory details—raindrops skittering down a window ...”
That description of watching rain drops on the window immediately conjured up for me a memory of one of my favourite things about where I live. My main windows look out onto an intersection. At night, and particularly on a rainy night, it’s incredibly peaceful to lookout and just watch the street through the rain on the window. The drops slowly rolling down the window making all the lights flare when they intersect. With that I had the base of my idea. I knew it would be at night, it would be raining and a core aspect would be looking out the window. What else would you do though?

I didn’t want the player to leave the apartment and I wanted to keep their eyes largely fixed on the window so whatever they did had to be through that window. I also wanted there to be an interaction with other people. Which gave rise to the idea of maybe … maybe … I could have multiple people be in this world at the same time, each in their own apartment, isolated but also connected. I was familiar enough with databases that I understood how to do that from a technical point of view. And I ran the numbers to work out the worst case bandwidth usage. It all fit. I worked out I could have a shared world with around 200 people in it. I had the core of my idea, a shared world where every player was focussed on their own window onto a rainy street at night. The next step was to make sure the player had a rainy window worthy of their attention.
Making a rainy window
I knew that I wanted a window with rain running down it and I knew I would need a shader to do it. I also knew that while I can make basic shaders and I knew that given time I can make ones with some complexity I also knew that this was many many levels above anything I had tried to make before. I started some research on it and was very fortunate early on to find these video tutorials from The Art of Code.

The effect was exactly what I was wanting and the tutorials were excellent. The techniques and solutions used in the tutorials were not ones I could have come to on my own. The gaps in my shader knowledge were simply too large. But after the tutorials it all made sense. I can understand what the code is doing and why. For me that’s the mark of a great tutorial. I learned how to do something I had never done before and I understand how the pieces fit together and how I might use them in future.
I had my rainy window, the next step was to work out what the player could and would do.
Keeping the interactions simple
As I started detailing out the rest of the game I was very adamant about keeping the interactions simple. Trying to create a game with a shared world for 200 people would be ambitious enough at the best of times. In the midst of a pandemic, while still working full time, and while trying to make sure the trimester closed out smoothly for my students and my team …. I needed to keep them very very simple. Where possible I like to put myself in the player avatar’s shoes to work out what they would do.
If it’s a rainy night how would I try and communicate with someone in the building opposite me that I didn’t know. I can’t call, text or email them. I can’t hold up a sign, no one could read it through the rain. And yelling would be rude. I could turn my lights off and on though. And maybe, just maybe, if both of us knew Morse Code (I don’t) or could at least recognise and find a guide (that I could do) then we could communicate. I had my player verb … my only player verb: toggle lights.
I also decided to only allow the player to look around (ie. no movement). I wanted to keep people focused on the window so I anchored them in that spot. I also removed all of the furniture apart from a single rug. Looking back into an almost entirely empty apartment would look quite strange though. I did consider restricting the camera angles but unless I heavily restricted them the player would always be able to see some of the apartment. Instead what I did was setup a custom shader to darken the environment behind the player.
The way the shader works is:
The game passes the player’s location and the forward vector (Vforward) of their spawn point (that way it’s consistent) to the shader.
For every vertex the shader calculates a vector from the player to the vertex Vp2v
The shader calculates the dot product of the vector from the player with the forward vector Projection = Vforward • Vp2v
The first thing done with the Projection is to flip the sign of it (so positive values were behind the player and negative in front).
The shader then used two distance thresholds: Start and End and converted the Projection into a percentage between them (with the values clamped into a 0 to 1 range).
That percentage was then used to scale the normal map strength (from full strength at the start to zero at the end).
It was also used to scale the colour from the texture lookup (from full colour at the start to black at the end).
The end result was the apartment behind the player is fully hidden and also looks a bit ominous in contrast to the more inviting view out the window. I now had a player that was locked in position, could look around, toggle the lights and their apartment being empty was largely hidden. Now I just needed a world that felt alive.
Creating a synchronised world
If player’s were going to be spending the majority of their time looking out of the window then there needed to be a reason to. Sure, there might be other players but there was no guarantee of numbers and folks might be playing in offline mode. I needed there to be things happening regardless. I also wanted to try and achieve a level of the shared experience even if you were in offline mode. That meant I needed a way to synchronise, as best as possible, everyone playing the game at the same point in time … without the need for any communications.
Using time, in particular UTC time, was a logical starting point. It would, assuming folks had the correct time and timezone setting, mean that multiple people scattered around the world would have the same UTC time. So I had a way to synchronise everyone regardless of where they were or what mode they were playing in. I still wanted there to be variation though. I didn’t want the same thing to always happen at the same time. If you ran the game for an entire week I wanted the world to be changing throughout that time. You might see the same event multiple times but not in the same way. So I still needed randomness, it just needed to be synchronised.
The solution was to use different components of the UTC time to seed the random number generator … and … to very carefully control when segments of the code were allowed to use randomness. How this unfolded from an implementation point of view was each variant of an event has:
A rigid set of day, hour and minute changes in which it can occur (so that I can permit or inhibit overlapping events).
A mix of components of UTC time (day in week and/or hour) as well as additional custom values that are combined to seed the random number generator.
A setup pass that when activated seeds the random number generator and performs all random rolls for the event in one go so that I can rely on consistency with the random rolls.
That setup worked out well, the events would activate consistently and the setup made it straightforward to configure a range of ones including:
Thunder from different locations (no visible forks of lightning but you do get the preceding flash of light).


