(This article is a reprint from the original posted on my blog)
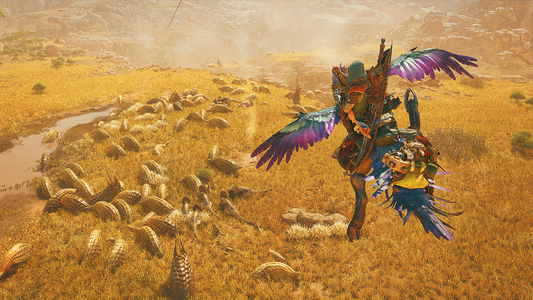
I decided to share the method I use in my current project to handle my true first person camera. There is little to no documentation on this specific type of first person view, so after looking into the subject for a while I wanted to write about it. Especially since I had a few issues which took me a bit of time to resolve. The end result looks something like that :
True First Person ?
What do we call "True First Person" (or TFP) ? It can also be called "Body Awareness" in some occasions. It's basically a camera that when used in a First Person point of view is attached to a an animated body to simulate realistic body movements of the played character, contrary to a simple floating camera. Here are a few examples of games having this kind of camera :
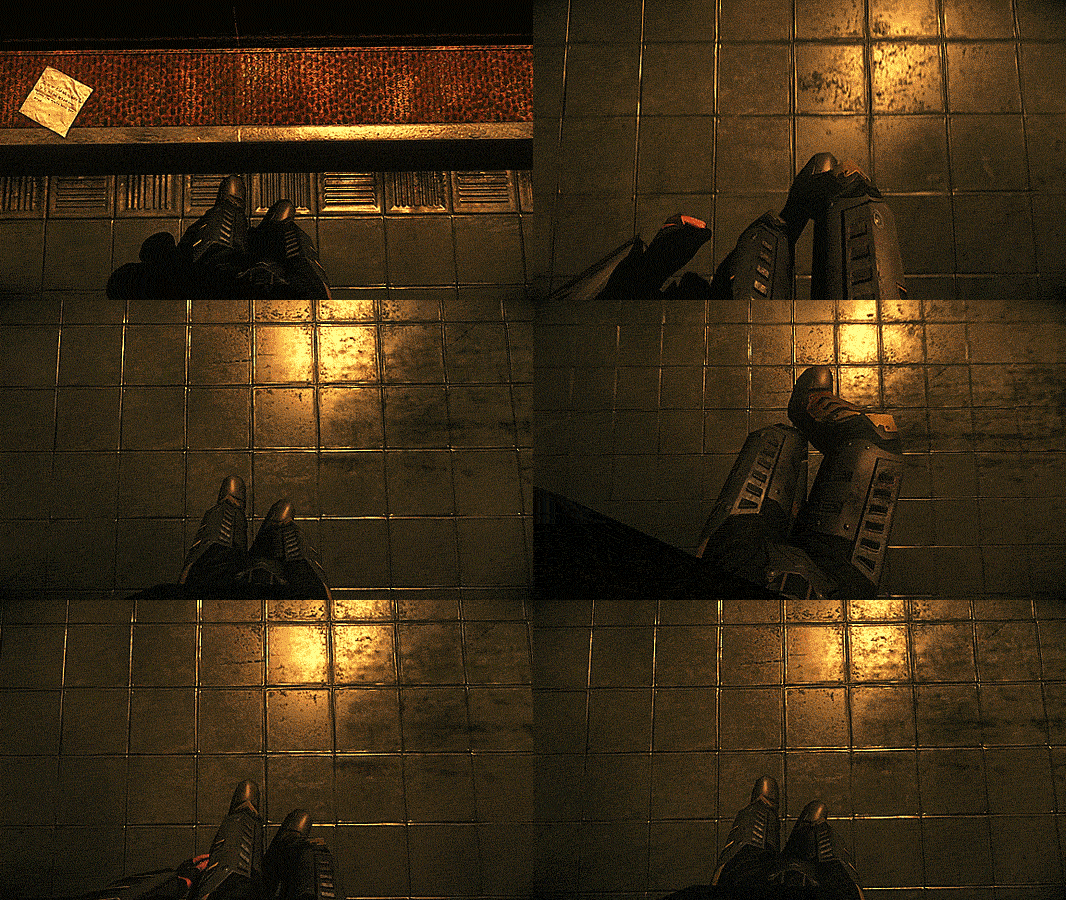
(The Chronicles of Riddick: Assault on Dark Athena)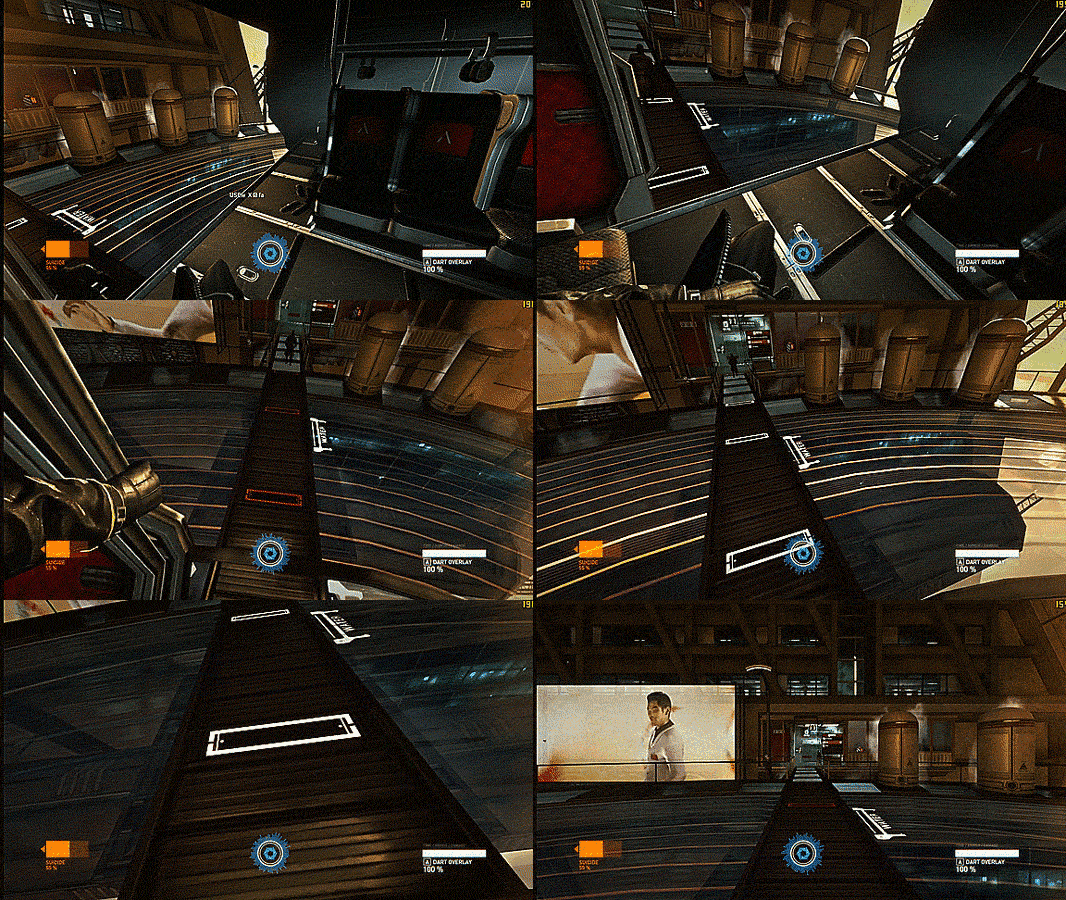
(Syndicate)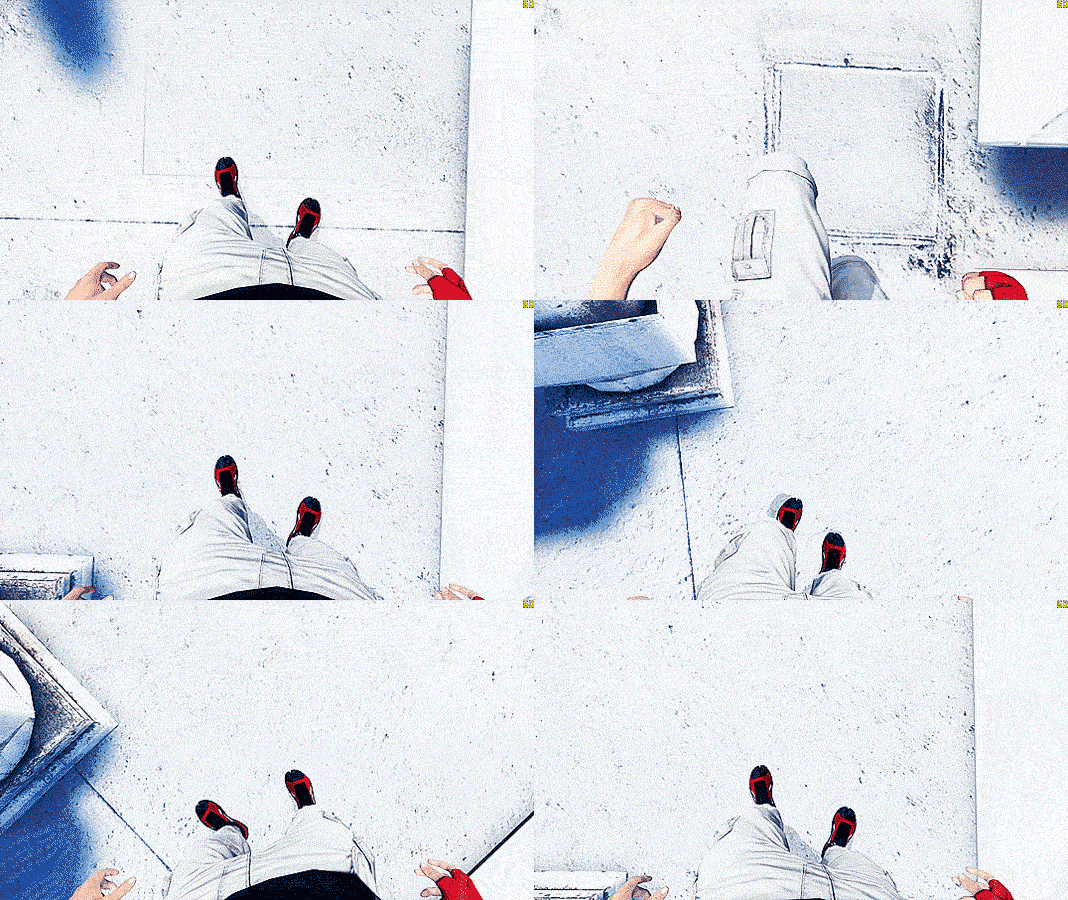
(Mirror's Edge)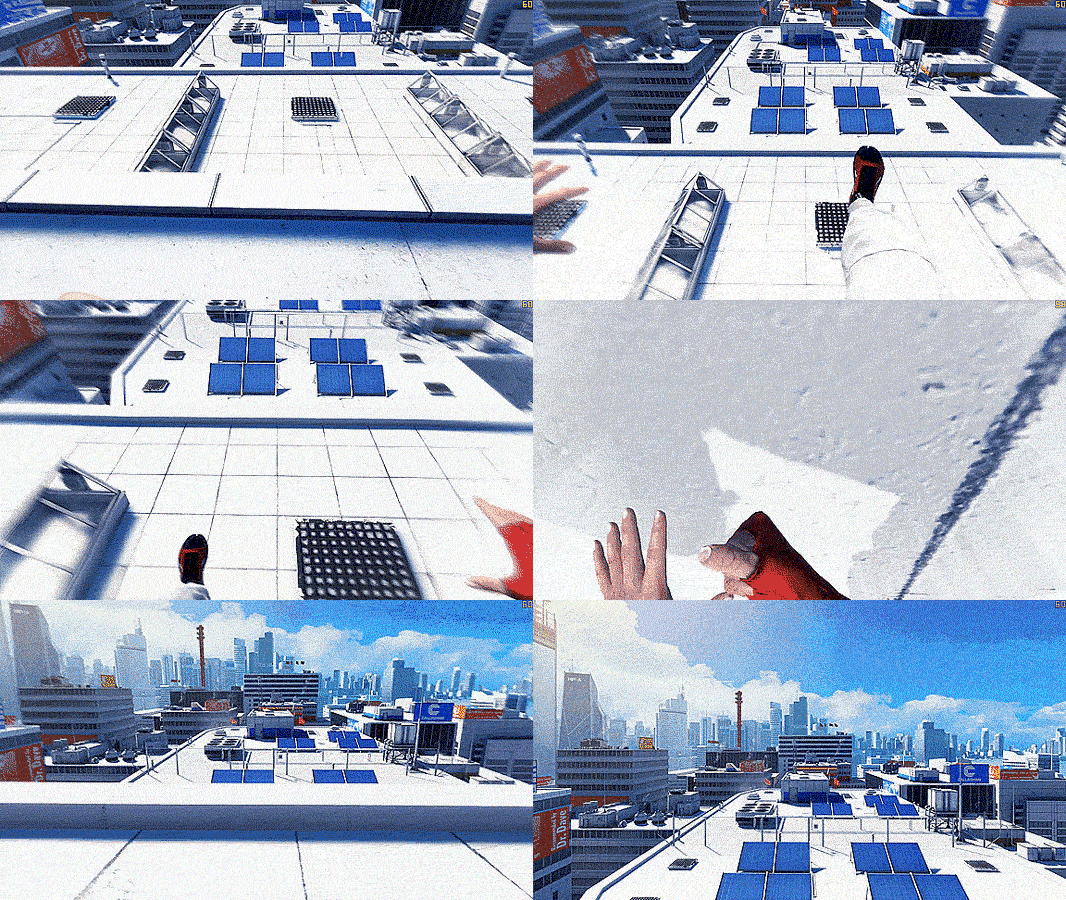
(Mirror's Edge)
What I'm not doing : separate body and arms
In a separate system, the two arms of the character are independent and attached directly to the camera. This allows to directly animate the arms in any situations while being sure it follows the camera rotation and position at all time. The rest of the body is usually an independent mesh that has its own set of animations. One of the problem of this setup is performing full body animations (like a fall reception) as it requires to synchronize properly the two separate animations (both when authoring the animation and playing them in-engine). Sometimes games use a body mesh that is only visible to the player, while a full body version is used for drawing the shadows on the ground (and visible to other players in multiplayer, this is the cas in recent Call of Duty games). This can be appropriate in order to optimize further, however if fidelity is the goal I wouldn't recommend it. I won't go in details about this method as it wasn't what I was looking for. Also there is already tons of tutorials on this kind of setup out there.


Full-body mesh setup
As a full-body mesh suggests we use only one mesh to represent the character. The camera is attached to the head, which means the body animation drives it. We never modify the camera position or rotation directly. The class hierarchy can be seen as this :
PlayerControler
  -> Character
     -> Mesh
        -> AnimBlueprint
        -> Camera
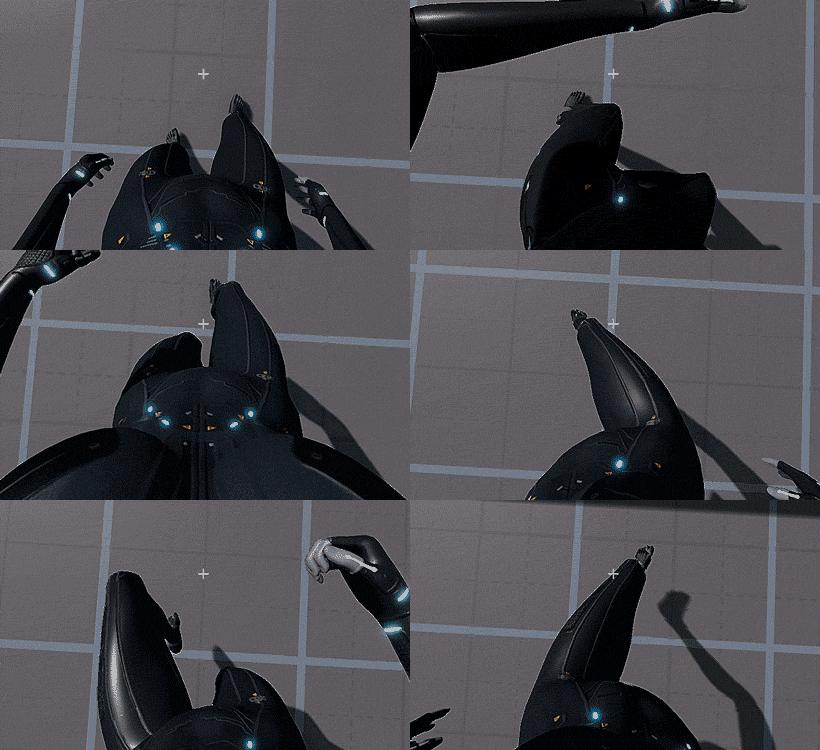
The PlayerController can always be seen on top of the Character (or Pawn) in Unreal, so this is nothing new here. The Character has a mesh, here a skeletal mesh of the body, which has an AnimBlueprint to manage the various animations and blending. Finally we have the camera, which is attached to the mesh in the constructor. So the Camera is attached to the mesh, are we done ? Of course not. Since the camera is driven by the mesh, we have to modify/animate the mesh to simulate the usual camera movements : looking up/down and left/right. This is done by creating additive animation (1 frame animation) that will be used as offsets from a base animation (1 frame as well). In total I use 10 animations. You can add more poses if you want the character to look behind itself but I found it wasn't necessary in the end. In my case I rotate the body when the player camera look at his left or right (like in the Mirror's Edge gif above). There is an additional animation for the idle as well, which is applied on top of all these poses. For me it looks like this :

Once those animations are imported into Unreal we have to setup a few things. Be sure sure to name the base pose animation properly to find it back easily later. In my case I named it "anim_idle_additive_base". Then for the other poses I opened the animation and changed a few properties under the "Additive Settings" section. I set the parameter "Additive Anim Type" to "Mesh space" and the parameter "Base Pose Type" to "Selected Animation". Finally in the asset slot underneath I loaded my base pose animation. Repeat this process for every pose.

Now that the animations are ready, it is time to create an "Aim Offset". An Aim Offset is an asset that store references to multiple animations and allow to easily blend between them based on input parameters. The resulting animation is then added on top of existing animation in the Animation graph (such as running, walking, etc). For more more details take a look at the documentation : Aim Offset. Once combined, here is what the animation blending looks like :
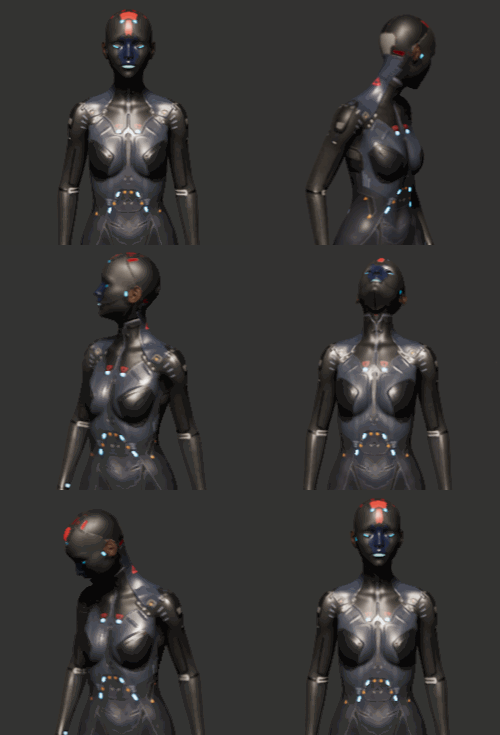
My Aim Offset takes two parameters as input : the Pitch and the Yaw. These values are driven by variables updated in the game code. See below for the details


Updating the animation blending
To update the animation, you have to convert the inputs made the player into a value that is understandable by the Aim Offset. I do it in three specific steps :
Converting the input into a rotation value in the PlayerController class
Converting the rotation which is world based into a local rotation amount in the Character class.
Updating the AnimBlueprint based on the local rotation values.
Step 1 : PlayerController input
When the player move its mouse or gamepad control I take the input into account in the PlayerController class and update the Controller rotation (by overriding the UpdateRotation() function :
void AExedrePlayerController::UpdateRotation(float DeltaTime)
{
	if( !IsCameraInputEnabled() )
		return;

	float Time = DeltaTime * (1 / GetActorTimeDilation());
	FRotator DeltaRot(0,0,0);

	DeltaRot.Yaw	= GetPlayerCameraInput().X * (ViewYawSpeed * Time);
	DeltaRot.Pitch	= GetPlayerCameraInput().Y * (ViewPitchSpeed * Time);
	DeltaRot.Roll   = 0.0f;

	RotationInput = DeltaRot;

	Super::UpdateRotation(DeltaTime);
}
Notes : UpdateRotation() is called every Tick by the PlayerController class. I take into account the GetActorTimeDilation() so that the camera rotation is not slowed down when using the "slomo" console command.
Step 2 : Camera local rotation in Character
My Character class has a function named "PreUpdateCamera()" which mostly do the following :
void AExedreCharacter::PreUpdateCamera( float DeltaTime )
{
	if( !FirstPersonCameraComponent || !EPC || !EMC )
		return;
	//-------------------------------------------------------
	// Compute rotation for Mesh AIM Offset
	//-------------------------------------------------------
	FRotator ControllerRotation = EPC->GetControlRotation();
	FRotator NewRotation 		= ControllerRotation;

	// Get current controller rotation and process it to match the Character
	NewRotation.Yaw 			= CameraProcessYaw( ControllerRotation.Yaw );
	NewRotation.Pitch 			= CameraProcessPitch( ControllerRotation.Pitch + RecoilOffset );
	NewRotation.Normalize();

	// Clamp new rotation
	NewRotation.Pitch 	= FMath::Clamp( NewRotation.Pitch, -90.0f + CameraTreshold, 90.0f - CameraTreshold);
	NewRotation.Yaw 	= FMath::Clamp( NewRotation.Yaw, -91.0f, 91.0f);

	//Update loca variable, will be retrived by AnimBlueprint
	CameraLocalRotation = NewRotation;
}
The functions CameraProcessYaw() and CameraProcessPitch() convert the Controller rotation into local rotation values (since the controller rotation is not normalized and in World Space by default). Here is what these functions look like :
float AExedreCharacter::CameraProcessPitch( float Input )
{
	//Recenter value
	if( Input > 269.99f )
	{
		Input -= 270.0f;
		Input = 90.0f - Input;
		Input *= -1.0f;
	}

	return Input;
}

float AExedreCharacter::CameraProcessYaw( float Input )
{
	//Get direction vector from Controller and Character
	FVector Direction1 = GetActorRotation().Vector();
	FVector Direction2 = FRotator(0.0f, Input, 0.0f).Vector();

	//Compute the Angle difference between the two dirrection
	float Angle = FMath::Acos( FVector::DotProduct(Direction1, Direction2) );
	Angle = FMath::RadiansToDegrees( Angle );

	//Find on which side is the angle difference (left or right)
	FRotator Temp = GetActorRotation() - FRotator(0.0f, 90.0f, 0.0f);
	FVector Direction3 = Temp.Vector();

	float Dot 	= FVector::DotProduct( Direction3, Direction2 );

	//Invert angle to switch side
	if( Dot > 0.0f )
	{
		Angle *= -1;
	}

	return Angle;
}
Step 3 : AnimBlueprint update
The last step is the easiest. I retrieve the local rotation variable (with the "Event Blueprint Update Animation" node) and feed it to the AnimBlueprint which has the Aim Offset :


Avoiding frame lag
I didn't mention it yet but an issue may appear. If you follow my guidelines and are not familiar with how Tick() functions operate in Unreal Engine, you will encounter a specific problem : a 1 frame delay. It is quite ugly and very annoying to play with, potentially creating strong discomfort. Basically the camera update will always be done with data from the previous frame (so late from the player point of view). It means that if you move your point of view quickly and then suddenly stop, you will stop only during the next frame. I


